Because of her true age, she wears the faux patina well. Tangent : My birthday is next week and the last thing I plan to do is make myself look older! HA! Anyway, I did it to her and she aged gracefully. I'll take a page...
Here you will see step-by-step how to create a lovely chippy textured patina that is sure to update even the saddest of pieces.

You will need :
Old White Chalk Paint
French Linen Chalk Paint
Annie Sloan Clear Wax
Annie Sloan Dark Wax
Hairdryer
Coarse Sandpaper
Paintbrushes
Lint-free cloths (old t-shirts)
Step 1 : Chill the Old White
Put your can of Old White in the refrigerator for about an hour with the lid removed. This will thicken it up and give it some texture. Annie recommends leaving it with the lid off overnight but I


Step 2 : Paint French Linen Base Coat
You can use any color that you want to see showing through when its all said and done. This can be a quick messy coat. No need for perfection. Let dry.


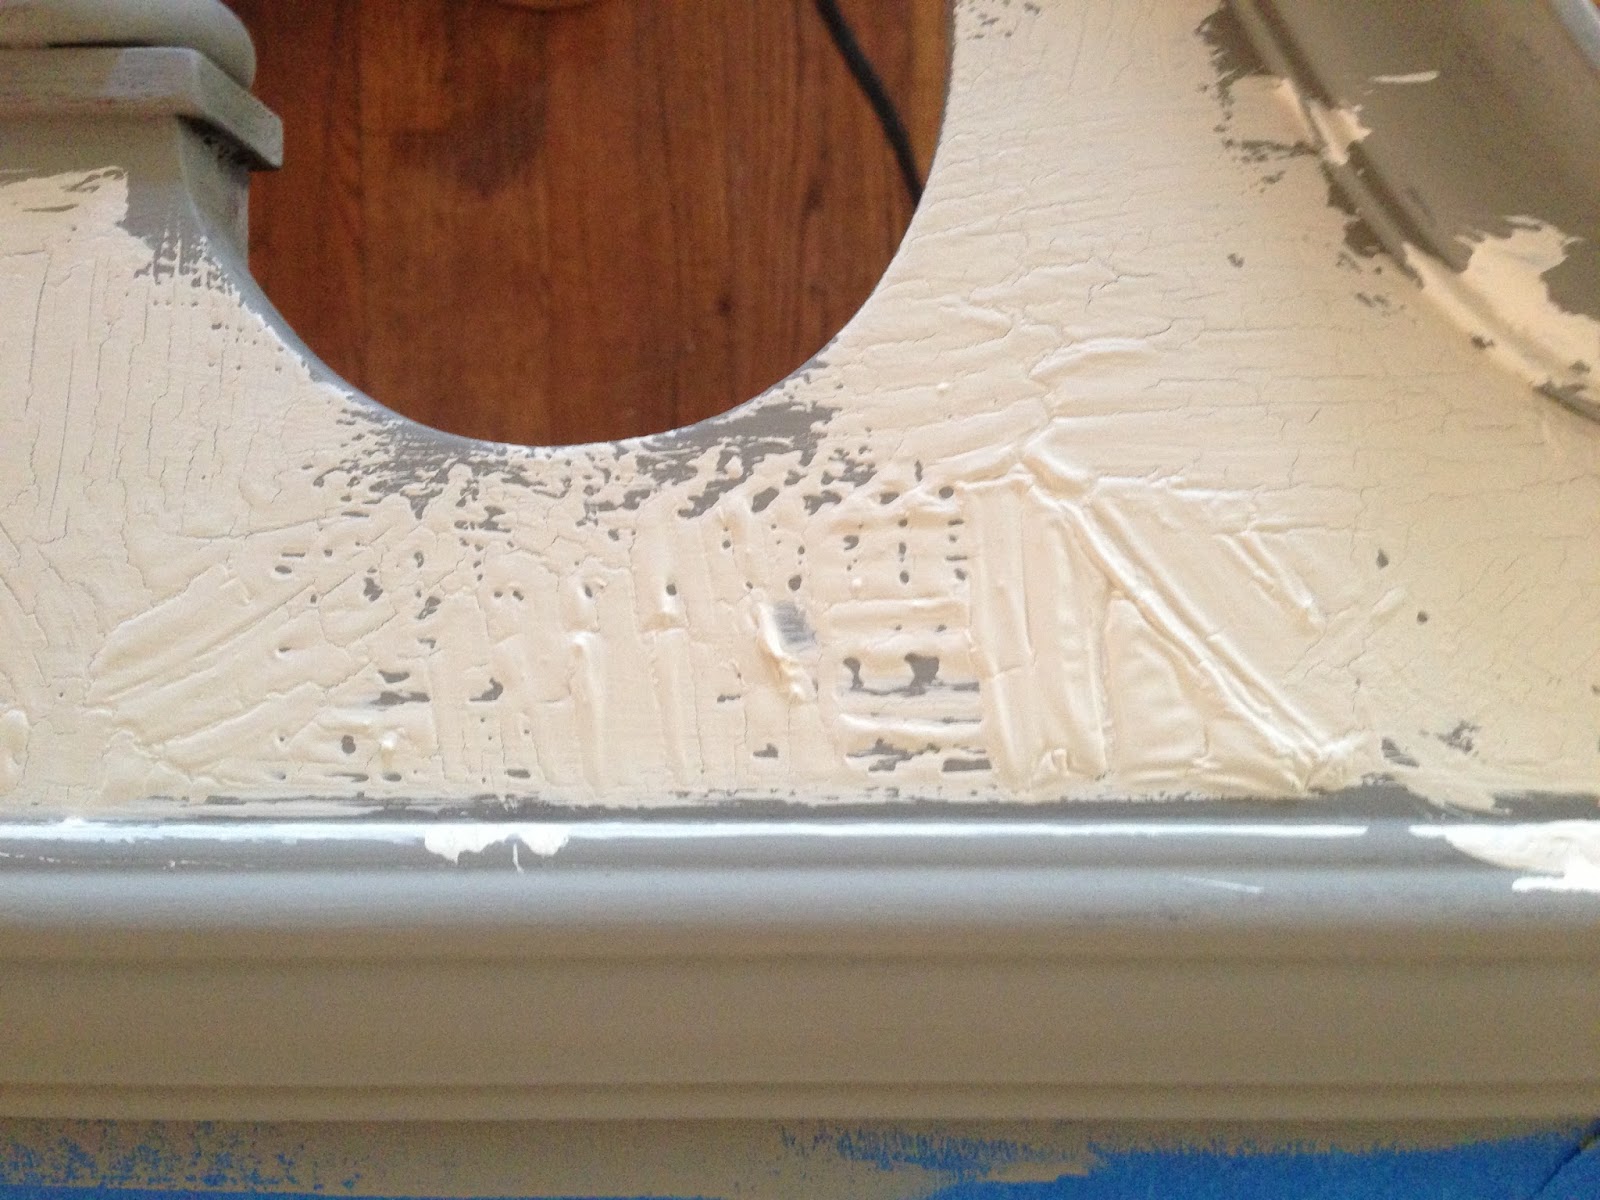
Step 3 : Layer Thick Coats of Old White & Hairdry Crackle
Slap the thickened paint on in all different directions, and let some of the French Linen show in places. Anywhere you would like to show age, make the paint extra thick. Work in sections and wherever the paint is particularly thick, make it crack using a hairdryer. Hold the hot hairdryer close to the paint for about a minute and cracks will begin to form naturally. As cracks show, pull back the hairdryer slightly. Repeat until you have covered the entire piece.


Step 4 : Texturize
In certain places, I like to "mess-up" the crackle and add further texture to create more of a handmade, time-worn finish. This makes each piece even more unique and interesting. Use a dry brush or your fingers to stipple, drip paint, rag drag, poke, scrape, & texturize. Remember, you are actually trying to mess it up! Let dry or speed it up with the hairdryer.


Step 5 : Rough Sand
Use sandpaper (I used 220 grit) to knock the paint off in areas where the piece would naturally age over time. Knock it all the way down to the original finish. Give corners and raised surfaces extra attention.


Step 6 : Clear Wax
Once the piece is textured to your liking and completely dry, cover the entire thing with clear wax. Be sure to get in all of the texture and around all of the corners using a circular motion. Use a clean dry cloth to remove any excess.

Step 6 : Dark Wax
Using the same technique as the clear wax, work in sections to apply the dark wax. Apply the wax and wipe with a clean cloth. Leave the wax a little darker in areas that wouldn't naturally be touched over time - like the joints and carvings.


